This begins a periodic series where I'll be detailing my journey in creating a custom minifigure using many of the tutorials and resources available on the internet. My hope is not to dictate that it's 'my way or the highway', but instead to show how anyone can do this (and trust me, if I can do it you can too).
I've chosen to create a custom Naruto Shippuden minifigure. Naruto is a series of manga and anime featuring a world where Ninja nations vie for power. The main character, Naruto Uzumaki, is a bit of an outcast with dreams of becoming leader of his village. Oh, and he has a nine tailed fox demon living in his belly button. If you would like to learn more about the character I would recommend reading the manga series from Shonen Jump or look here.
Being familiar with the character myself, the next step is to identify and isolate the design features that will make the character instantly recognizable, but still retain a LEGO minifigure look. A good resource on prepping for conceptual design is authored by Readbean from his Minifig Customization Network days and can be found here.
 Looking at the reference photo you'll note that some of the main design features include the orange jump suit with black highlights, the blond anime style hair, and black bandanna with Konoha insignia. If we were to capture these elements alone, I could see 9 out of 10 people familiar with the character identifying it as Naruto. Secondary design elements include the leg holster, the shoulder badge, and facial markings. These secondary elements add some additional flavor and detail to the overall design. Much beyond this and I would suspect the figure will look cluttered.
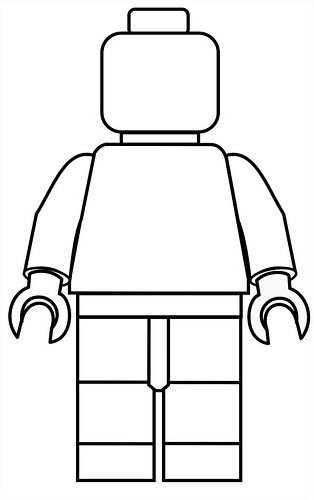 These are just a few elements to consider at the concept stage. Now to get on with working out some details of the design. I am personally more of a pencil and paper person, preferring to sketch my designs before hitting the figs. I was able to find this template of a full, head-on minifigure. Using this blank template, I sketched out an initial design. I cannot emphasize how helpful it was to do this. I originally started from memory and got many of the design elements wrong. Combining this step with several reference photos will give you a much stronger vision for what you want to try and create. I've included a picture of my sketch here.
With final concept in hand, I'm ready to move on the the next stage and delve into the depths of BrickLink and find some raw materials for the project.